Introduction to the control panel
You don’t have to be a computer genius to use Windows XP, but if you know something about how to set up some basic features and functions it will do a lot for you. Windows XP makes this easier than ever with the Control Panel. The Control Panel features a number of tools that will help you control how Windows XP features look and act. But first you must learn how to access the Control Panel.
To
access the control panel:
1.
Click
Start.
2.
Click
Control Panel.
3.
The
Control Panel opens.
OR
▶
Type Control Panel in the Address dialog box found on any Windows
SP windows.
OR
▶
Many Folders features a link to the Control Panel ion the See
also dialog box (only in XP view).
No
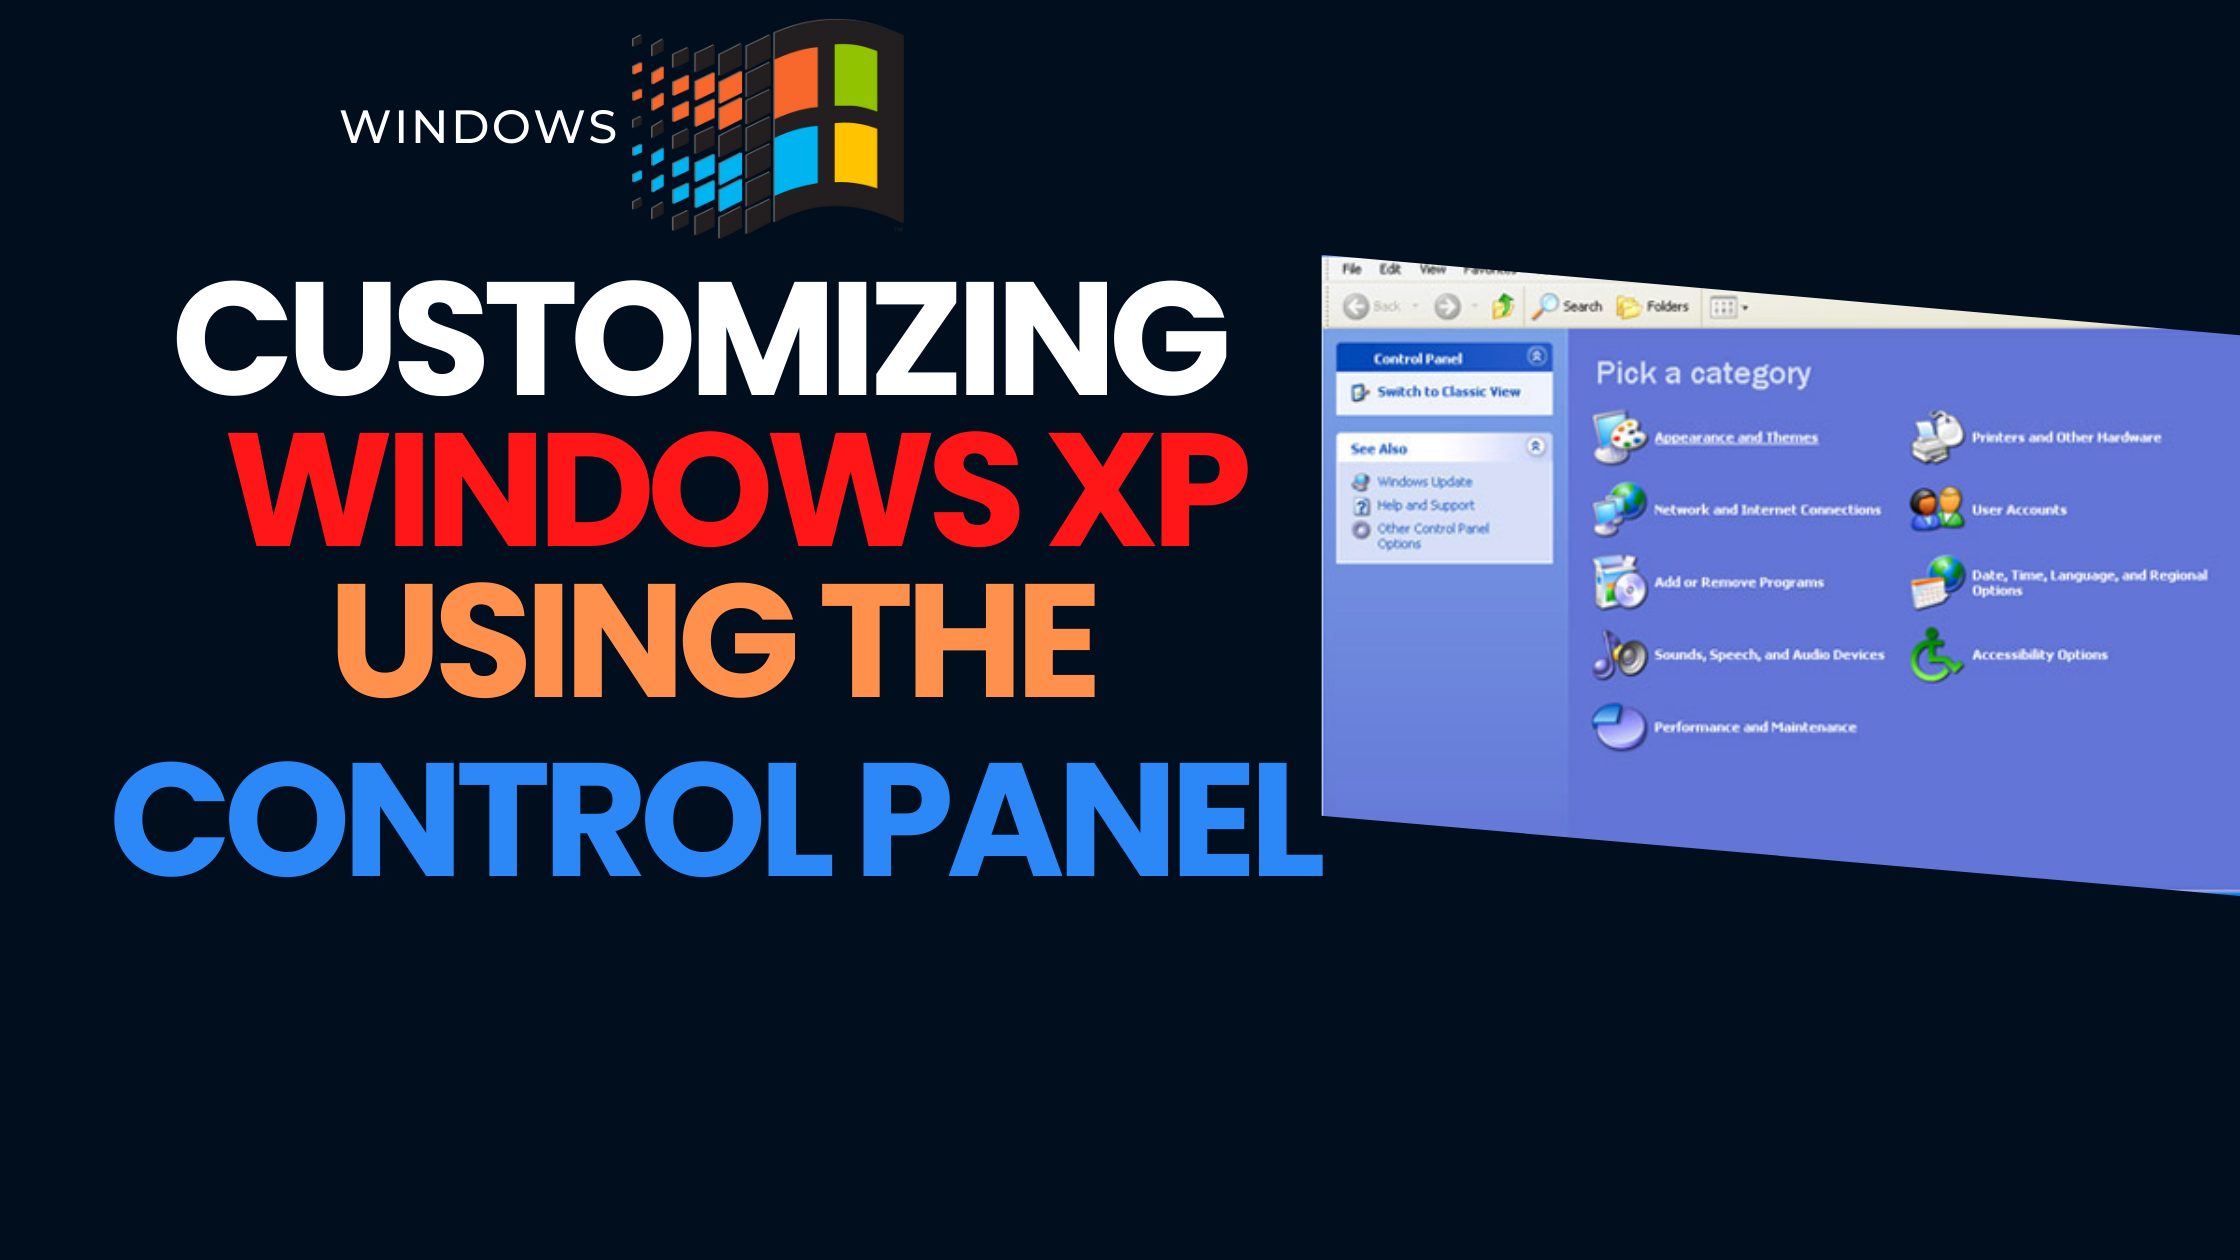
matter how you get to the Control Panel, it will look like this upon first
viewing:

Navigate
the control panel
If you’re used to a previous versions
of Windows, you’ll notice that the Control Panel in Windows XP looks different.
The Windows XP Control Panel is
divided into Categories. If you click a category, the window presents a List
of Tasks and related Control Panel.
Note: Task and Control Panel icons perform
basically the same functions. For example, notice that you can “Choose a
screen saver” in the Pack a Task list. Clicking this icon, the Display Properties
dialog box opens.
If you look at the left side of the
window, you’ll notice that the See Also and Troubleshooters
dialog boxes provides several more related options.
The Windows XP Control Panel is
designed to provide multiple ways to do something, thereby making it more user
friendly. However, the new Control Panel design doesn’t provide you
with access to every available Control Panel tool –– it only provides you
with access to the most commonly used tools.
To access ALL of you Control
Panel tools, you must switch to Classic view.
To
switch to classic view:
▶
Click the Classic View link on the left side of your Control Panel.
▶
Click the Switch to Category View link to switch back.


Ø Use the menu bar and toolbar buttons
to navigate and further explore Control Panel options.
Set
the date and time
In the following pages, we’ll explain
how to perform some common Control Panel tools.
To
change the date and time:
1.
Open
the Control Panel (located in Start menu).
2.
Under
pick a Category, click Date, Time, Languages, and Regional
Options.
3.
Under
pick a Task, click Change that date and time.
4.
The
Date and Time Properties dialog box opens.
5.
Use
the drop-down box to set the month and year.
6.
Click
the correct date on the calendar.
7.
Click
and select the current time to make a change.
8.
If
necessary, click the Time Zone tab and use the drop-down box to change
the time zone.
9.
Click
OK to close the dialog box.
OR
1.
Right-click
the time in the lower-right on your desktop.
2.
Choose
Adjust Date/Time.
3.
The
Date and Time Properties dialog box opens.
4.
Follow
steps 6-10 from above.

Changing
the wallpaper
Wallpaper is the background mage that appears on your
desktop. Windows XP offers many wallpapers choices.
To
change the wallpaper:
1.
Open
the Control Panel (located in Start menu).
2.
Under
pick a Category, click Appearance and Themes.
3.
Under
pick a Task, click Change the desktop background.
4.
The
Display Properties dialog box open with the Desktop tab selected.
5.
In
the Background box, click or use the arrow keys to view your choice.
6.
Use
the drop-down boxes to alter the wallpaper position or color.
7.
Click
OK to close the dialog box.

Advanced
users:
▶
Click Browse… to choose a picture from the My Pictures folder (or to
navigate to a picture located in another folder).
▶
Click the Customize Desktop button to alter your desktop icons or
display a webpage on your desktop.
Changing
the screen saver
In the early days of computing, screensavers
helped prevent images from being burned into the monitor. Now screensavers
entertain us, provide some privacy, and enhance our work or home environment.
Windows XP comes with several screensavers.
To
change the screen saver:
1.
Open
the Control Panel (located in Start menu).
2.
Under
pick a Category, click Appearance and Themes.
3.
The
Display Properties dialog box opens with the Screen Saver tab
selected.
4.
Click
the arrow to open a drop-down box. Click or use the arrow keys to view
the choices. Or click preview to view each option on your computer
screen. Press any key on your keyboard to return to the dialog box.
5.
Click
Settings to customize the appearance of your chosen screensaver. (A
dialog box will notify you if your choice doesn’t have any option.)
6.
In
the Wait box, determine how many minutes should pass before your
screensaver turns on.
7.
Click
OK to close the dialog box.

Customizing
the taskbar
You already know about the taskbar,
but did you know you can customize its appearance?
To
customize the start menu:
1.
Open
the Control Panel (located in Start menu).
2.
Under
pick a Category, click Appearance and Themes.
3.
Under
Pick a Control Panel icon, click Taskbar and Start Menu.
4.
The
Taskbar and Start Menu Properties dialog box opens with the Taskbar tabs
displayed.
5.
Use
the check boxes to customize its appearance, then click OK.

Ø Click the Start Menu tab to
switch between the XP Start menu and classic start menu. Classic
Start menu is the Start menu was featured in older versions of Windows.


